Posted on Leave a comment

Ways to Edit an SVG in Cricut Design Space

Are you a Cricut crafter looking to add a personal touch to your projects? If you’ve ever wondered how to edit an SVG for your craft project, you’ve come to the right place!

In this blog post, we’ll explore three simple ways you can confidently edit an SVG for your Cricut crafts, allowing you to unleash your creativity in just minutes.

By the end of this article, you’ll have the knowledge and confidence to make the most of your SVG files. Let’s dive in and discover how you can effortlessly customize your designs to create stunning and unique craft projects.
edit an svg

3 Things You Need to Edit an SVG

The right file type

  1. One of the key elements to successfully edit an SVG is using the right file type. It’s important to note that you cannot edit raster images like PNG or JPG files directly in Cricut Design Space. By ensuring you have the correct SVG file, you guarantee compatibility and smooth integration with the software.

This simple step provides you with a sense of security, as you can trust that your designs will seamlessly translate into Cricut Design Space. No more troubleshooting compatibility issues—instead, you can focus wholeheartedly on your creative expression and bring your craft visions to life.

The right layer

  1. Once you have the correct file type, the next crucial step is selecting the right layer within your SVG file. This allows you to edit specific elements of the design without unintentionally altering other parts. By mastering this skill, you gain confidence and satisfaction in having complete control over individual elements within your SVG designs.

Say goodbye to inhibitions and hello to personalized expression! Selecting the right layer empowers you to fine-tune your designs, adjust colors, tweak shapes, or add text with precision. The attention to detail you can achieve enhances the quality and visual appeal of your finished projects.

The right tools

  1. Equipped with the correct file type and the ability to select the right layer, it’s time to unleash the power of the right tools in Cricut Design Space. These tools are designed to make your editing process seamless and efficient. Once you understand how to use them effectively, you’ll experience a surge of joy and excitement as you effortlessly manipulate your SVG files.

Resizing, rotating, mirroring, welding—these are just a few of the incredible features at your disposal. With the right tools, you have limitless possibilities to transform and customize your designs. Embrace the freedom to experiment, explore different techniques, and create truly unique and captivating projects that reflect your artistic vision.

Which of these challenges have you encountered while editing SVG files? Share your experiences in the comments below—I’d love to hear from you and offer any additional guidance you may need.

In the next post, we’ll delve into the four components of a successful craft journey. Don’t miss out! Click the button below to join the design squad (and get a Free SVGs) to stay informed.

If you’re ready to find ready-to-cut designs in just minutes, check out the playlist below now. We’ve prepared a simple checklist to streamline your search process and help you discover the perfect designs for your Cricut crafts.

Editing an SVG for your Cricut crafts doesn’t have to be daunting. With the right file type, the ability to select the right layer, and utilizing the right tools, you can confidently customize your designs and bring your creative ideas to life. Embrace the joy of crafting and explore the endless possibilities that await you. Happy crafting!

Posted on Leave a comment

5-Step Framework to Create Your Own Juneteenth Graphic Design

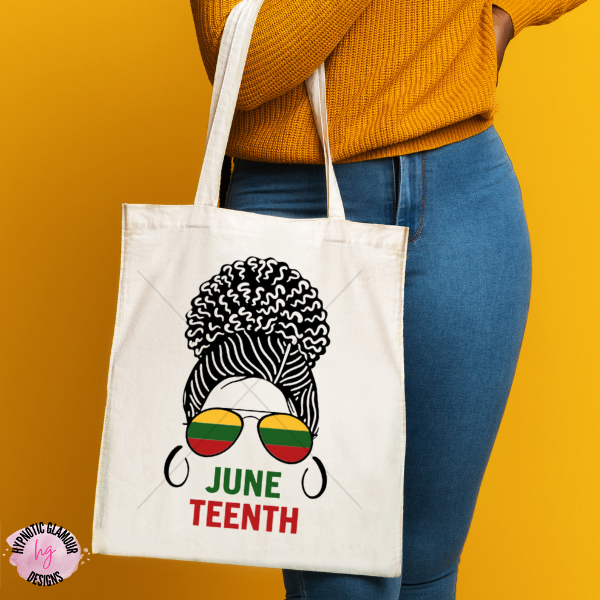
Want to create your own Juneteenth Graphic Designs SVG like this but don’t know where to get started?

Juneteenth DIY crafts

Hi, I’m Chaniece, an SVG designer dedicated to helping crafters like you unleash their creativity and design custom SVGs, even if you’re unsure where to begin. In this post, I’ll guide you through a simple 5-step framework that will have you brainstorm your Juneteenth graphic design in just minutes.

By the end of this post, you’ll feel empowered to create personalized and meaningful Juneteenth graphic designs that capture the essence of this important holiday. Unlock your creative potential and let your imagination soar as we delve into the world of SVG design.

Step 1: Pick a Topic or Theme

Start by choosing a topic or theme that resonates with Juneteenth. Draw inspiration from historical events, symbols of freedom, or elements that represent African American heritage. Reflect on the significance of Juneteenth and let it guide your design direction.

Step 2: Pick Graphics

Select graphics that visually communicate the essence of Juneteenth. Consider incorporating symbols like doves, broken chains, or images that represent freedom and progress. Browse through Juneteenth-related resources and adapt them to your design or create your own original graphics.

Step 3: Pick Fonts

Choose fonts that complement the theme and tone of your Juneteenth design. Explore elegant scripts, bold serifs, or clean sans-serifs. Aim for legibility and ensure the fonts enhance the overall message and aesthetics of your design.

Step 4: Pick Colors

Delve into a color palette that evokes the spirit of Juneteenth. Consider hues like red, black, green, and gold. Red symbolizes strength and resilience, black represents heritage and unity, green signifies growth and hope, while gold represents achievement and prosperity. Experiment with different combinations to find the perfect balance.

Step 5: Pick a Phrase

Select a phrase that encapsulates the essence of Juneteenth. It could be a powerful quote, a rallying call for freedom, or a message of unity and equality. Let the words convey the historical significance of Juneteenth.

Congratulations! You’ve just uncovered a 5-step framework to create your own Juneteenth graphic designs. I can’t wait to see what you come up with!

Share your design ideas in the comments below and let’s celebrate our collective creativity.

Click the button below to gain access to the free Custom Cricut Design Space training. Elevate your crafting skills and bring your Juneteenth graphic designs to life with confidence. Sign up now and create, inspire, and celebrate the power of Juneteenth through design!

Posted on Leave a comment

How to Make a Money Gift Card Holder for Father’s Day

Are you looking for a heartfelt and personalized gift idea for Father’s Day?

Father’s Day is the perfect occasion to show the special dads in your life how much you care. In this step-by-step guide, I’ll walk you through the process of creating your own homemade money card holder. With just a few materials and some creativity, you’ll have a unique and meaningful gift ready to impress. Let’s get started!

Step 1: Get the Money Card Holder Starter Guide

To begin, download your free copy of the Money Card Holder Starter Guide. This guide will provide you with all the materials you need to get started.

Step 2: Use Design Frameworks

Now it’s time to unleash your creativity! Select the graphics, fonts, and colors that best represent the dad’s personality and interests. Personalize the design to make it truly unique and meaningful.

If you have trouble with this step, check out my free money card holder training that breaks down all of these frameworks and shows you how to pick each of these in just minutes.

A. Pick Your Graphics: Choose images or illustrations that reflect the dad’s hobbies, passions, or favorite symbols. Consider using Father’s Day-themed elements to add an extra touch of celebration. You can find these for free in the Free SVG library.

B. Pick Your Fonts: Select fonts that complement the overall design and convey the desired message. Opt for a combination of fonts (also known as font duos) to add visual interest and ensure readability. Click below to get some examples of fonts you can use.

C. Pick Your Colors: Use a color scheme that resonates with dad’s preferences or matches the theme of the homemade money gift card holder. Consider incorporating shades that evoke warmth and appreciation.

Step 3: Create Your Design in Cricut Design Space

Transfer your chosen design elements to Cricut Design Space, a user-friendly software that allows you to bring your ideas to life. Upload the graphics, customize the text, and arrange everything according to your desired layout.

Step 4: Flatten Design

Once you’re satisfied with the design, ensure all elements are properly aligned and grouped together. Flatten the design for the print then cut process.

Step 5: Print then Cut Money Card Holder

Load your cardstock (preferably 110 lb) into your printer and print the flattened design. Make sure the print quality is set to high and the bleed is turned on for optimal results. Once printed, load the printed cardstock onto your cutting machine and let it work its magic. Watch as your design comes to life with precision and detail.

Step 6: Assemble and Attach Lip Balm Box to Card

Download the free lip balm box SVG to hold the money. Upload the file to Cricut Design Space and follow the instructions in the instructional video to format the file before cutting. Then, cut out the box. Now, attach the lip balm box SVG to the front of the homemade money card holderin the designated spot using glue. This will provide a unique and functional display for the money.

Step 7: Add Money to the Lip Balm Box and Seal

Finally, insert the desired amount of money into the lip balm box attached to the homemade money card holder. Seal the box to ensure the bills are securely held in place. Consider adding a heartfelt note or a personal message to the message box in the upper left of the card to complete the Father’s Day surprise.

Congratulations! You’ve successfully created a homemade money card holder for Father’s Day. This heartfelt and practical gift will surely bring a smile to any dad’s face. Remember, the joy is not only in the final product but also in the thought and effort you put into creating something unique and meaningful. Get creative, have fun, and enjoy the satisfaction of giving a handmade gift from the heart. Happy crafting and Happy Father’s Day!

Posted on Leave a comment

Simple Checklist to Find Ready-to-Cut Designs

Are you tired of wasting time and dealing with frustration while searching for ready-to-cut designs for your Cricut projects?

Hi, I’m Chaniece with Hypnotic Glamour Designs, here to help crafters like you save time and minimize stress with high-quality, ready-to-cut designs.

In this blog post, I’ll provide you with a simple checklist that will guide you in finding ready-to-cut designs in just minutes. By the end of this post, you’ll have the steps you need to confidently choose the perfect designs for your Cricut projects.

Before we dive into the checklist, let’s address some common mistakes crafters make when searching for designs.

The Most Common Crafters Make When Looking for Designs

  1. Swiping images off Google or from Facebook group dumps. This can lead to files that require conversion and cleanup, resulting in wasted time and frustration.
  2. Picking the wrong file format. This can cause compatibility issues and require conversion.
  3. Poor image quality. Using images with jagged lines or blurriness can result in a low-quality finished product.
  4. Using a single layer/colored image. If you want to make a multi-colored design, you’ll have to manually separate the layers, which takes time away from your crafting.

Now let’s get into the checklist.

Simple Checklist to Find Ready-to-Cut Designs

Consider the source

To ensure you find high-quality ready-to-cut designs, start by considering the source. Look for reputable websites, marketplaces, or designers known for their quality and reliability. Read reviews and feedback from other crafters to ensure you’re choosing a trustworthy source that offers well-crafted and accurate design

Check the file format

Before downloading or purchasing a ready-to-cut design, check its file format for compatibility with your Cricut machine. The best file format for Cricut is SVG (Scalable Vector Graphics), as it offers excellent scalability and compatibility. However, other formats like DXF or PNG may also work depending on your specific needs. Ensuring compatibility will save you time and ensure a seamless cutting experience.

Inspect the visual appearance

Take a close look at the visual appearance of the ready-to-cut design before using it for your Cricut project. Look for smooth lines, clear details, and well-defined shapes. Zoom in to examine intricate parts or small elements, ensuring they are clean and legible. Choosing visually appealing designs will significantly enhance the overall quality of your project, so pay attention to aesthetics and select designs that align with your creative vision.

Check the layers

When evaluating a ready-to-cut design, examine its layers. Determine if the design consists of separate layers for different colors or elements. Having separate layers allows for easy customization and modification of individual parts. It provides you with the flexibility to add your own creative touch to the project. Ensure the design is well-organized and easily adjustable to suit your preferences.

By following this simple checklist, you can confidently select ready-to-cut designs for your Cricut projects. Consider the source, check the file format, inspect the visual appearance, and evaluate the layers of the design. These steps will ensure a successful and enjoyable crafting experience with your Cricut machine.

Don’t forget to access the free SVG library by clicking the button below.

In the next post, we’ll explore ways to edit an SVG in Cricut Design Space. Subscribe and turn on the notification bell so you don’t miss out on that valuable information.

Do you want to learn why SVG is the best file format to use for your Cricut projects? Read this post now to find out. And as always, happy crafting!

Posted on Leave a comment

Juneteenth DIY Crafts

Are you looking for inspiration on what crafts to make for your upcoming Juneteenth celebrations?

In this blog post, we’ll explore five creative Juneteenth DIY craft ideas. Let’s dive in and discover how these crafts can add a special touch to your Juneteenth celebrations.

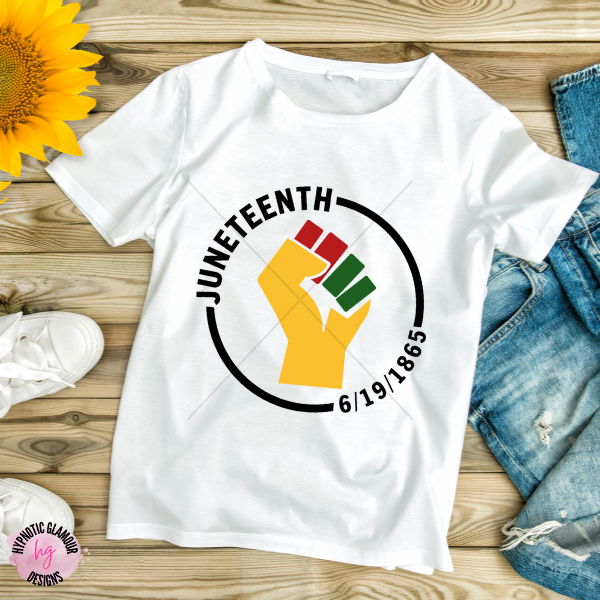
T-Shirts

Crafting Juneteenth-themed t-shirts allows you to showcase your passion for the holiday. Utilize the Juneteenth SVG bundle for iron-on vinyl decals that encapsulate the spirit of Juneteenth. Adorn plain t-shirts with symbols of freedom, quotes of empowerment, or iconic Juneteenth imagery. These wearable expressions will make a statement and spark conversations about Juneteenth’s significance.

juneteenth diy crafts

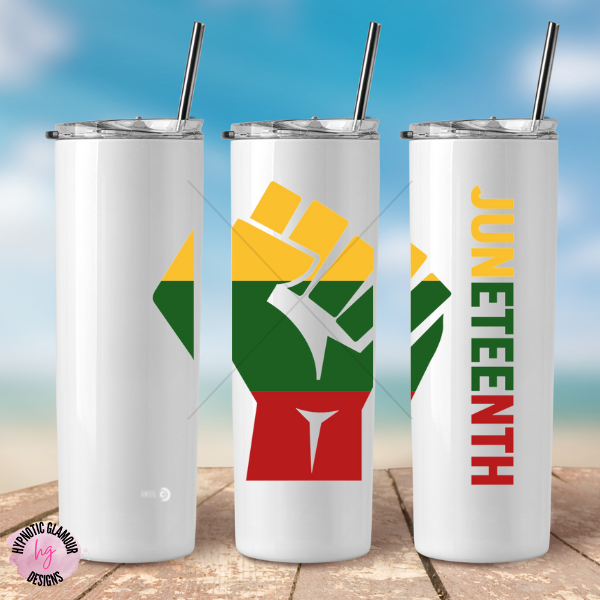
Tumblers

Personalized Juneteenth tumblers combine functionality with artistry. Use the Juneteenth SVG bundle to craft striking vinyl decals that symbolize freedom, unity, and resilience. Apply these captivating designs to your tumbler to transform everyday objects into a powerful reminder of Juneteenth’s importance. Sip your favorite beverages while proudly celebrating Juneteenth.

Juneteenth DIY Crafts

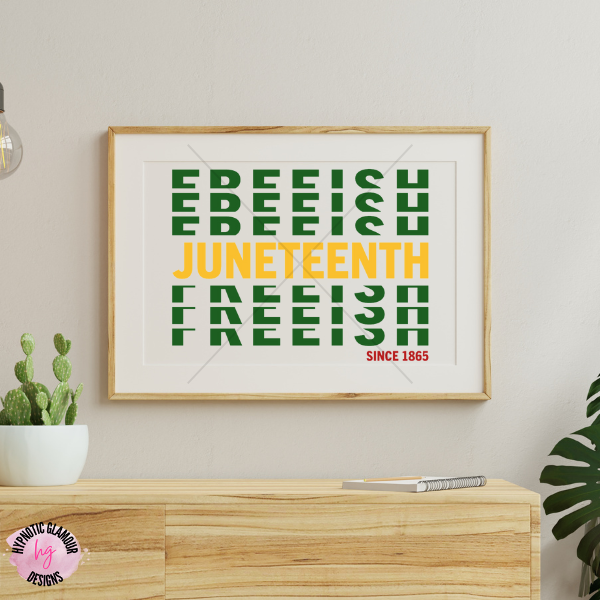
Wall Art

Elevate your surroundings with captivating Juneteenth wall art. Dive into the Juneteenth SVG bundle to uncover the perfect designs to symbolize the significance of Juneteenth. Use your Cricut machine to cut out these designs from vinyl to create a unique piece of art that celebrates freedom. Arrange and frame these creations on your walls,

Juneteenth DIY Crafts

Banners

Crafting Juneteenth banners allows you to proclaim your celebration of freedom. Dive into the Juneteenth SVG bundle to find designs that resonate with the holiday’s essence. Cut out these impactful designs using your Cricut machine and attach them to strings or ribbons to create vibrant banners. Display them in your home, neighborhood, or at community events to rally people together to celebrate Juneteenth.

Juneteenth DIY Crafts

Tote Bags

Craft Juneteenth-themed tote bags that make a statement while embracing sustainability. Unleash the potential of the Juneteenth SVG bundle by utilizing these designs on your tote. Cut out these powerful designs from vinyl or print then sublimate them to plain tote bags. Carry this empowering accessory wherever you go, spreading awareness about Juneteenth’s historical significance.

Juneteenth DIY crafts

Creating Juneteenth DIY crafts allows us to honor the legacy of freedom and resilience while embracing our artistic spirit. With the Juneteenth SVG bundle as your creative companion, you can infuse your crafts with symbols, quotes, and imagery that capture the essence of Juneteenth. Embrace the spirit of Juneteenth as you embark on crafting t-shirts, tumblers, wall art, banners, and tote bags, using these crafts as powerful tools to celebrate the holiday’s significance and spark meaningful conversations.

Posted on 1 Comment

The Best File for Cricut Projects

Are you eager to unleash your creativity with your Cricut machine, but unsure about the best file format for your projects? In this blog post, you’ll get the ideal file format for Cricut crafting.

Raster vs. Vector Images

When it comes to finding images for your Cricut projects, it’s essential to understand the difference between raster files (such as PNG or JPG) and scalable vector graphics (SVG). While many images found on the internet are raster files, composed of tiny dots called pixels, they have limitations. Enlarging a raster image beyond a certain point results in blurriness and loss of quality.

On the other hand, SVG files are made up of lines and curves connected by nodes, forming shapes using mathematical equations. This scalable vector format allows you to resize your images infinitely without sacrificing quality. Opting for actual SVG images for your crafting projects ensures clear and crisp cuts every time.

Debunking Common Myths:

Myth: All images on the internet are ready to cut.

Reality: Most images found on free Facebook groups and through Google image searches are actually raster files, not SVGs. Remember, SVGs offer the best scalability and quality for your Cricut projects.

Myth: All images on the internet are free to use for any purpose.

Reality: Many images found on the internet have an original designer and may be protected by copyright. Unauthorized use of these images may infringe on intellectual property rights. To ensure you’re using images legally, look for reputable websites that sell or offer free SVGs with proper licensing.

Myth: All images on the internet require conversion and cleanup before use.

Reality: A high-quality SVG file should not require any conversion or cleanup before using it in Cricut Design Space. By choosing well-crafted SVGs, you can save time and start creating your projects right away.

Which of these myths did you believe before? Let us know in the comments by typing 1, 2, or 3!

Access the Free SVG Library

To assist you in your crafting journey, I invite you to join our Free SVG library. It’s your ultimate resource for high-quality, ready-to-cut SVGs that are compatible with your Cricut machine. Click the button below to gain access and unlock a world of creative possibilities.

Understanding the best file format for Cricut projects is vital for achieving optimal results in your crafting endeavors. By choosing SVGs over raster files, sourcing images from reputable websites, and utilizing high-quality SVGs that require no additional conversion or cleanup, you’ll elevate your crafting experience to new heights.

Stay tuned for our upcoming video where we’ll provide you with a simple checklist to help you identify high-quality SVG files for your Cricut projects. Don’t miss out on this valuable resource!

Did you find this post helpful? If so, give it a like and share it with fellow crafters who might benefit from this information. Together, let’s master the art of Cricut crafting!

Posted on Leave a comment

Father’s Day Cricut Projects

Wondering how you can put your Cricut machine to use for heartfelt and personalized gifts? Discover this collection of Father’s Day Cricut projects and get inspired to make this Father’s Day one to remember.

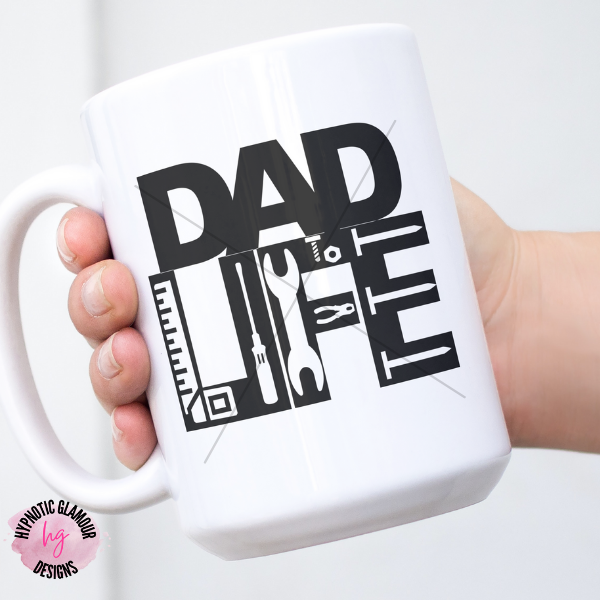
Click below to get this free Father’s Day SVG

dad life svg

If you’re looking to add a unique touch to your Father’s Day celebrations, I’ve got you covered. In this blog post, you’ll get five amazing Father’s Day Cricut projects that are sure to impress.

You can accomplish these projects easily with the Father’s Day SVG bundle. So, grab your Cricut machine, let your creativity flow, and let’s dive into the world of DIY crafting!

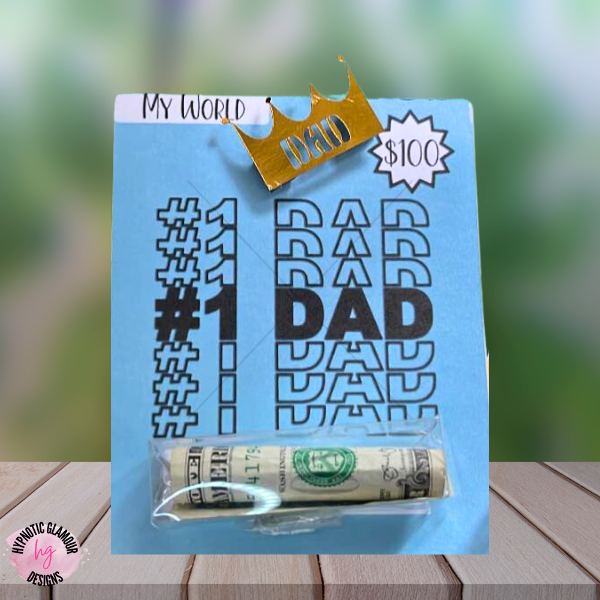
Money Card Holder

Surprise Dad with a unique twist on traditional greeting cards by creating custom money card holders using your Cricut machine. It’s a perfect gift for the dad who says they want nothing, seem to have everything, or is difficult to shop for. It’s also a creative and practical way to gift money while adding a personal touch to your Father’s Day surprise.

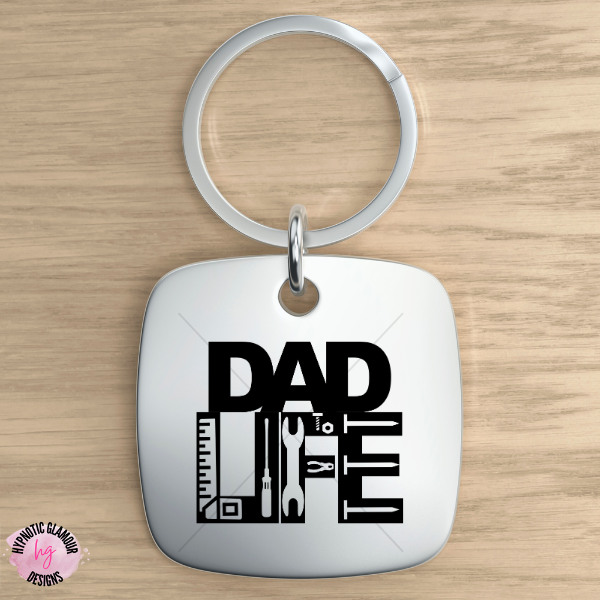
Keychain

Craft a personalized keychain using your Cricut machine, incorporating Dad’s initials, a memorable quote, or a special symbol. Dad can use this keychain every day, keeping his keys organized while carrying a reminder of your love and appreciation wherever he goes. It’s a functional and sentimental gift that will surely put a smile on his face. With the Father’s Day SVG bundle, you can easily design custom keychains that Dad will adore

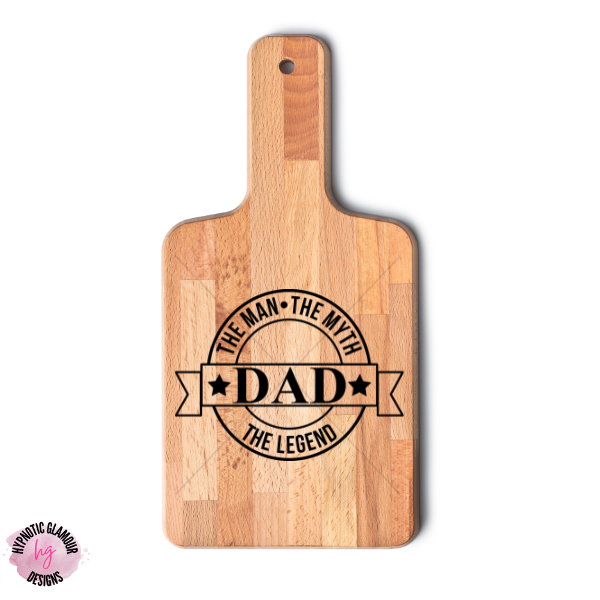
Cutting Board

Transform a simple cutting board into a work of art by engraving Dad’s name, a meaningful message, or a unique design. Dad can use this personalized cutting board while preparing meals, adding a touch of sentimentality to his culinary endeavors. It can also double as a stylish serving platter for cheeses, fruits, or charcuterie when entertaining guests. Explore the designs offered in the Father’s Day SVG bundle and find one that resonates with Dad’s interests or hobbies.

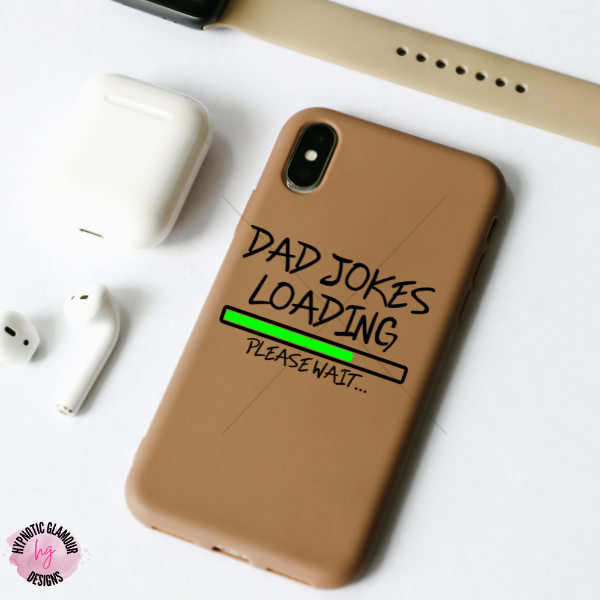
Phone Case

Give Dad’s phone a makeover by creating a custom phone case using your Cricut machine. Personalize it with his favorite colors, patterns, or a special Father’s Day message. The Father’s Day SVG bundle has a wide range of designs to choose from. Dad can proudly protect his phone while showcasing his unique style and your thoughtful gift.

Throw Pillow

Design a custom throw pillow featuring Dad’s favorite quote, a family photo, or a special design. Using heat transfer vinyl and the SVG files from the bundle, you can easily personalize a plain throw pillow. This home decor piece will not only add a stylish touch to Dad’s living space but also provide comfort and support. Dad can use it to relax on the couch, read a book, or take a quick nap while being reminded of your love and appreciation.

Want even more ideas? Check out the free Father’s Day Gift Guide.

With Father’s Day just around the corner, now is the perfect time to unleash your creativity and create unforgettable gifts for Dad. These Father’s Day Cricut projects offer endless possibilities for customization and personalization, allowing you to show your love in a unique and heartfelt way. So, why wait? Download the free Dad Life SVG and get started on your DIY masterpiece today!