
Creating Magical New Year’s Eve Memories with Your Kids
As New Year’s Eve approaches, you desire to create a memorable celebration for your kids but face the challenge of finding engaging and age-appropriate activities. The pressure to make the night special can be overwhelming, especially when typical adult festivities aren’t suitable for kids.
Click here for a free and kid-friendly “Drink If” game for NYE.
As a parent and crafting enthusiast, I strive to recreate that magic for my children, ensuring they have a night to remember. get it. The pressure to create a memorable New Year’s Eve for the whole family can be overwhelming. You want something fun and engaging for the kids, but also something that allows you to enjoy the evening too. It can be tough to balance it all.
Imagine a New Year’s Eve filled with laughter, excitement, and precious memories made together. Your kids will be actively participating in fun, age-appropriate activities that create lasting family bonds. This post will give you the ideas to make that happen.
Create Moments through Crafting
Hi, I’m Chaniece from Hypnotic Glamour Designs. I help busy moms like you create beautiful and meaningful moments through crafting. I believe that crafting is more than just making pretty things; it’s about creating memories and connecting with loved ones. And what better time to connect than on New Year’s Eve?
New Year SVG Bundle
To help you make this New Year’s Eve extra special, I’ve created a New Year’s Eve SVG Bundle packed with fun and festive designs you can use for all sorts of kid-friendly projects.
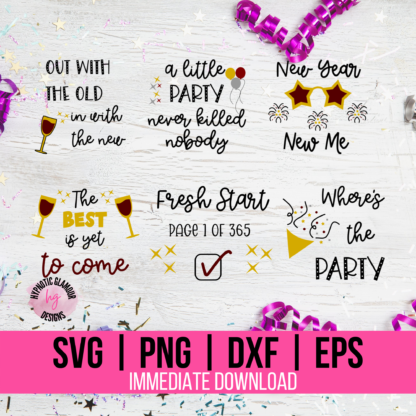
New Year SVG Mini Bundle
Light Up Your NYE with the New Year SVG Mini Bundle! ✨ Ditch the boring parties and crowded stores. This year, celebrate with dazzling DIY style! The New Year SVG Mini Bundle is your ticket to crafting one-of-a-kind, unforgettable t-shirts for your entire crew. Imagine matching family threads that sparkle brighter than the fireworks, spreading…
Fun and Engaging New Year’s Eve Activities for Kids
These New Year’s Eve activities will help your kids feel excited, engaged, and included in the celebrations. They’ll create a sense of anticipation and fun as you countdown to the new year together. Plus, these activities provide a great opportunity for bonding and creating lasting family memories.
Here are some simple and fun New Year’s Eve activities perfect for kids:
- Confetti Poppers: These are easy to make with paper rolls, cardstock, and some tape. Kids love the surprise and excitement of popping them at midnight (or an earlier “kid-friendly” midnight — 9 PM over here).
- Noise Makers: Get ready to make some noise! You can decorate paper plates, cups, or even just use pots and pans to create fun noise makers.
- Party Hats: No New Year’s Eve celebration is complete without party hats! You can decorate plain hats with glitter, stickers, markers, or even print out fun designs.
- Headbands: Create sparkly and festive headbands using pipe cleaners, garland, and cardstock.
- Glasses: Make silly and fun glasses out of construction paper or cardstock.
- Drink Game (Kid-Friendly): Set up a simple drink game using juice boxes or other non-alcoholic beverages. You can create fun rules or challenges for each round. Don’t want to make your own? You can get my free “Drink If” printable game here –> Free Drinking Game
- Countdown Clock: Make a paper plate clock with moving hands to help kids visualize the countdown to the new year.
Without engaging activities, children may feel left out of the New Year’s celebrations, leading to boredom and missed opportunities for family bonding. Incorporating these crafts ensures an inclusive and enjoyable experience for all.
Level Up Your Designs with Creative Fabrica Fonts
Speaking of creating amazing designs, I rely heavily on Creative Fabrica for my fonts. Their yearly subscription gives you access to a massive library of fonts perfect for any project. If you’re looking to elevate your designs, I highly recommend checking them out. The right font can make all the difference in your New Year’s Eve activities for kids projects! Here’s some fonts to get you started. Click the logo below to check them out.
Your Favorite Tradition
What’s your favorite New Year’s Eve tradition with your kids? Leave your answer in the comments.
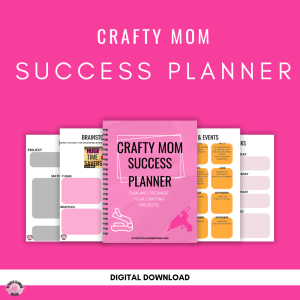
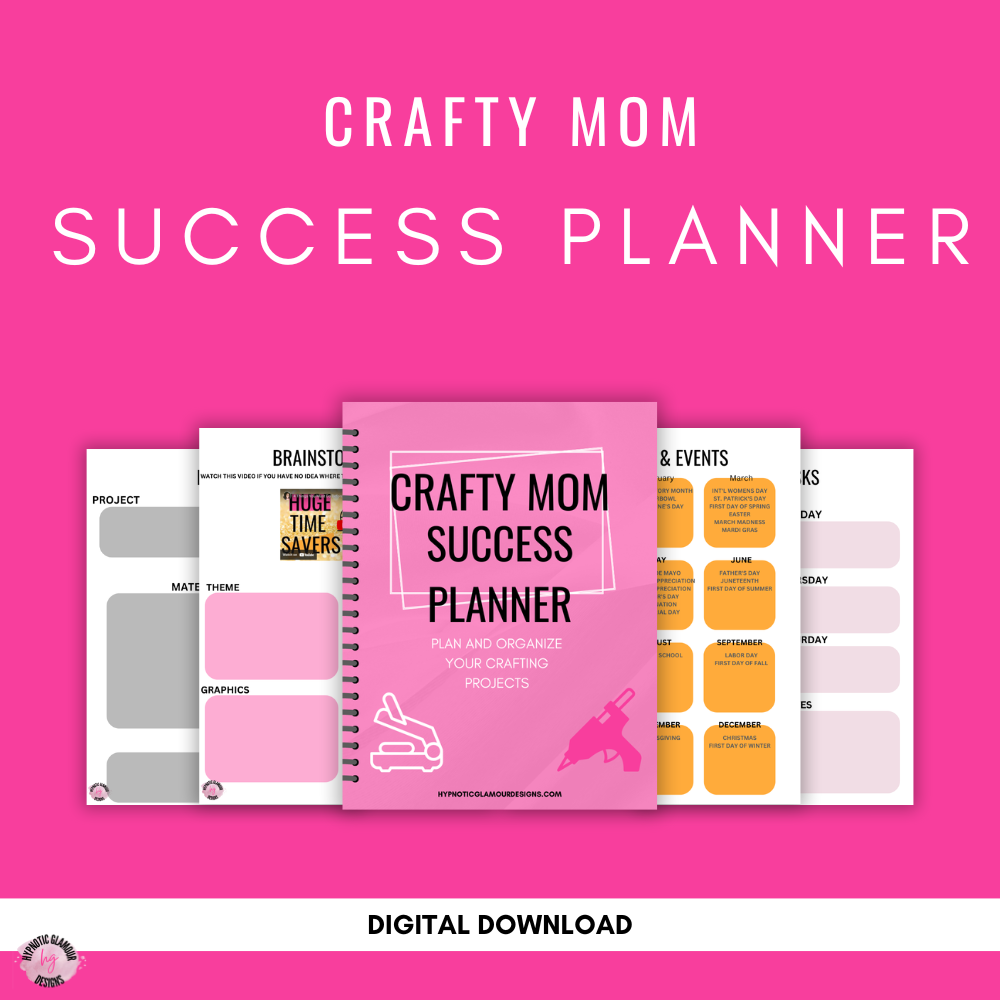
Get Organized for a Successful Crafting Year
Want even more tips and resources for creating memorable moments with your kids? Download my free Crafty Mom Success Planner to help you stay organized and inspired:
New Year SVG Mini Bundle
Light Up Your NYE with the New Year SVG Mini Bundle! ✨ Ditch the boring parties and crowded stores. This year, celebrate with dazzling DIY style! The New Year SVG Mini Bundle is your ticket to crafting one-of-a-kind, unforgettable t-shirts for your entire crew. Imagine matching family threads that sparkle brighter than the fireworks, spreading…
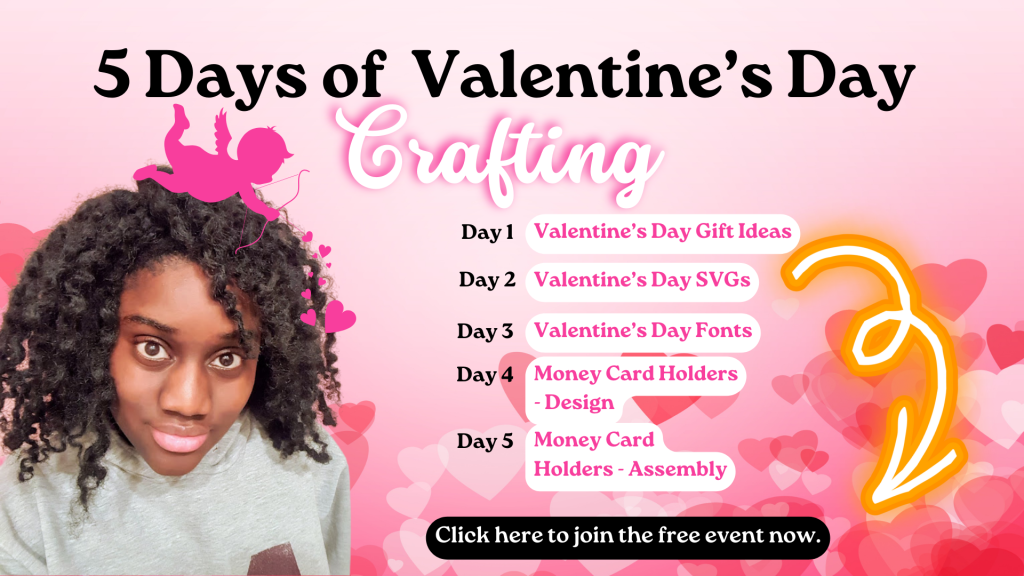
Looking Ahead: Valentine’s Day Crafts
As we bid farewell to the New Year’s festivities, it’s the perfect time to start planning for the next celebration—Valentine’s Day! Engaging in Valentine’s Day crafts not only keeps the creative momentum going but also provides an opportunity to express love and appreciation through handmade creations. Click below to get your spot for this free event now.


Leave a Reply